Hanging a wall mirror at the right height can transform any room, enhancing both its style and functionality. But how high should you hang a wall mirror to achieve the perfect balance? Whether you’re adding a mirror for decorative purposes or practical use, getting the height just right is key to making your space feel harmonious. In this guide, we’ll explore the best tips and recommendations on how high to hang a wall mirror, ensuring your room looks polished and well-proportioned.
Step 1: Measure Your Mirror’s Height
To determine the ideal height for hanging your wall mirror, start by accurately measuring its height. Using a measuring tape or a ruler, measure from the top edge to the bottom. Ensure that the tape is straight for an accurate reading. This step is essential, as knowing the exact height helps in positioning the mirror at eye level or above furniture. Additionally, have a pencil and paper handy to jot down measurements. Once you’ve measured, you’re ready to move on to determining the perfect height for hanging.
Step 2: Consider Eye-Level Placement
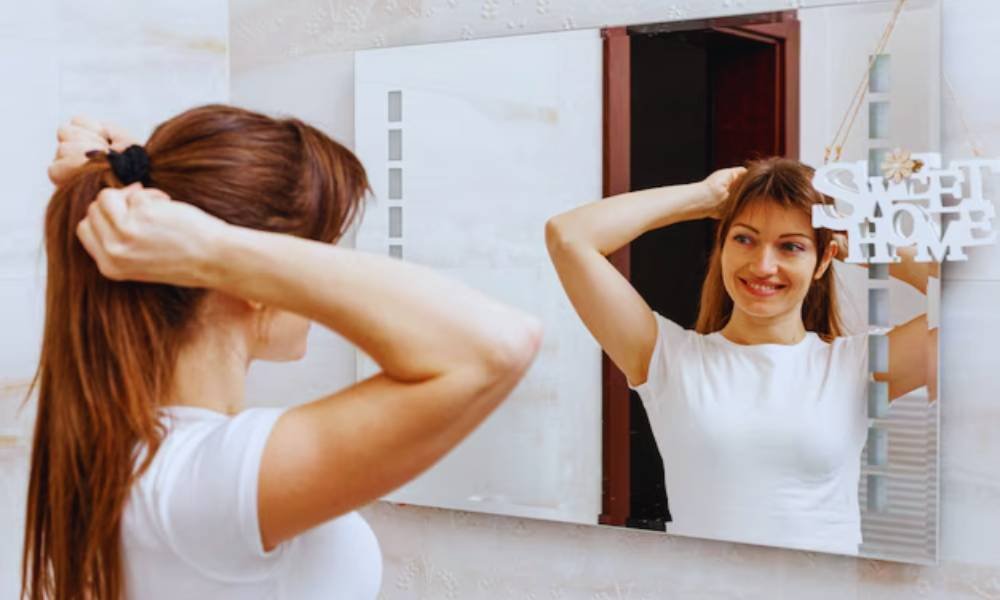
When determining how high to hang a wall mirror, consider placing it at eye level. A common guideline is to position the center of the mirror between 57 and 65 inches from the floor. This height allows for a comfortable view for most people. However, it’s important to adjust the placement based on the height of your household members or frequent users. For taller individuals, you might want to raise it slightly. The goal is to ensure the mirror is functional and adds balance to the room’s décor.
Step 3: Evaluate the Room’s Purpose
When deciding how high to hang a wall mirror, the room’s purpose is key. In living rooms, mirrors often serve as decorative accents, so hang them at eye level or above furniture for balance. In bathrooms, function comes first—hang the mirror where it’s practical for grooming, typically above the sink. For hallways, mirrors can be hung higher to create the illusion of space and enhance lighting. Always consider the wall space available and the mirror’s role, whether for reflection, decoration, or expanding the room’s visual depth. Adapt accordingly for the best result.
Step 4: Adjust for Furniture and Decor
When hanging a wall mirror above furniture, such as a console table or sofa, leave a 4-6 inch gap between the bottom of the mirror and the top of the furniture. This spacing is essential for creating a visual balance, ensuring the mirror doesn’t overwhelm the furniture or the surrounding décor. The gap also helps anchor the mirror to the space, making it feel intentional and well-proportioned. This approach allows the room to appear more spacious while maintaining a harmonious flow between the furniture, mirror, and other decorative elements.
Step 5: Ensure Lighting Enhances the Mirror

Positioning your mirror near a natural light source, like a window, can brighten the room and make it feel more spacious. Natural light bouncing off the mirror adds warmth and depth to any space. Alternatively, using artificial light, such as wall sconces or overhead fixtures, can create a focal point and enhance the mirror’s reflective quality. The right lighting can elevate the ambiance, so consider placing your mirror where it catches and amplifies light. This not only enhances the decor but also improves the room’s overall brightness.
Step 6: Test with Temporary Placement
Before committing to nails or screws, it’s wise to test your mirror’s placement temporarily. Using adhesive strips or strong tape, hang the mirror at the desired height and step back to assess the look. Pay attention to how it reflects the room, ensuring the angles are right and the space feels balanced. Check if the mirror reflects important areas, like a focal piece of furniture or an interesting view. Adjust as needed until you’re satisfied with the positioning before making the permanent decision to secure it.
Step 7: Gather the Right Tools
Before hanging your wall mirror, gather the necessary tools to make the process smooth and safe. You’ll need nails, wall anchors, a hammer, a level, and measuring tape. These items will ensure accurate placement and secure installation. Always check that the mirror is hung on studs or use proper wall anchors for support. When handling mirrors, wear gloves to avoid fingerprints and prevent injury from sharp edges. Additionally, ensure the work area is clear of any obstacles to maintain safety during installation.
Step 8: Mark the Wall and Install
Once you’ve found the perfect spot for your wall mirror, mark the location with a pencil. Use a tape measure to ensure it’s centered and a level to guarantee the mirror will hang straight. After marking the spot, secure the appropriate hanging hardware, such as wall anchors or hooks, based on your mirror’s weight and size. Double-check the level before fully securing the mirror to the wall. Proper installation ensures the mirror stays in place and adds the desired aesthetic to your space.
Conclusion
In conclusion, knowing how high to hang a wall mirror can make a big difference in your room’s appearance. The right height brings balance, enhances the space, and creates a stylish focal point. By considering the mirror’s size, purpose, and the room’s layout, you can find the perfect spot that complements your decor. Always remember to measure carefully, use a level, and choose the right hardware to ensure a secure and straight installation. With these tips, your wall mirror will not only look great but also elevate your room’s design.