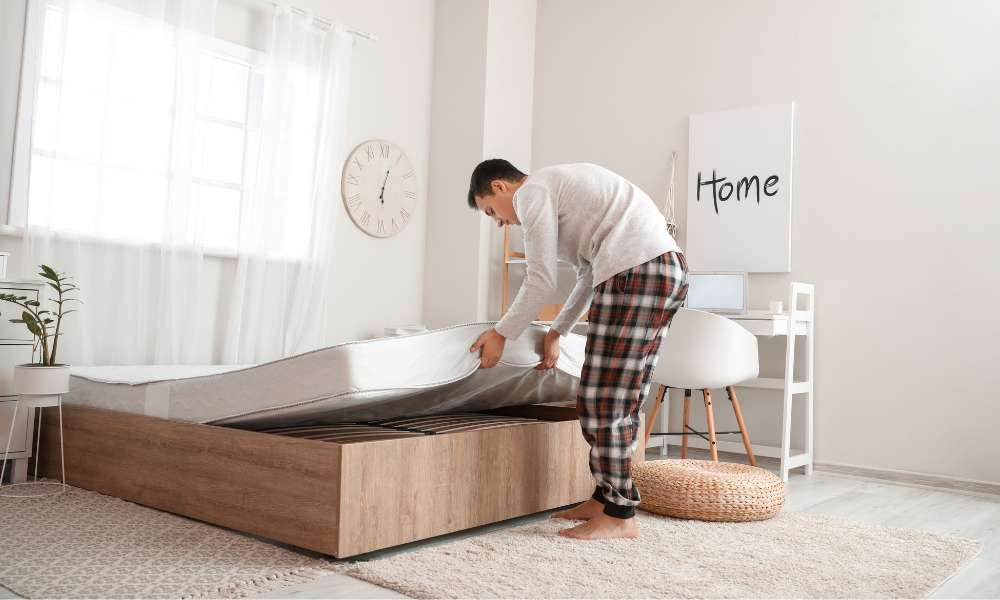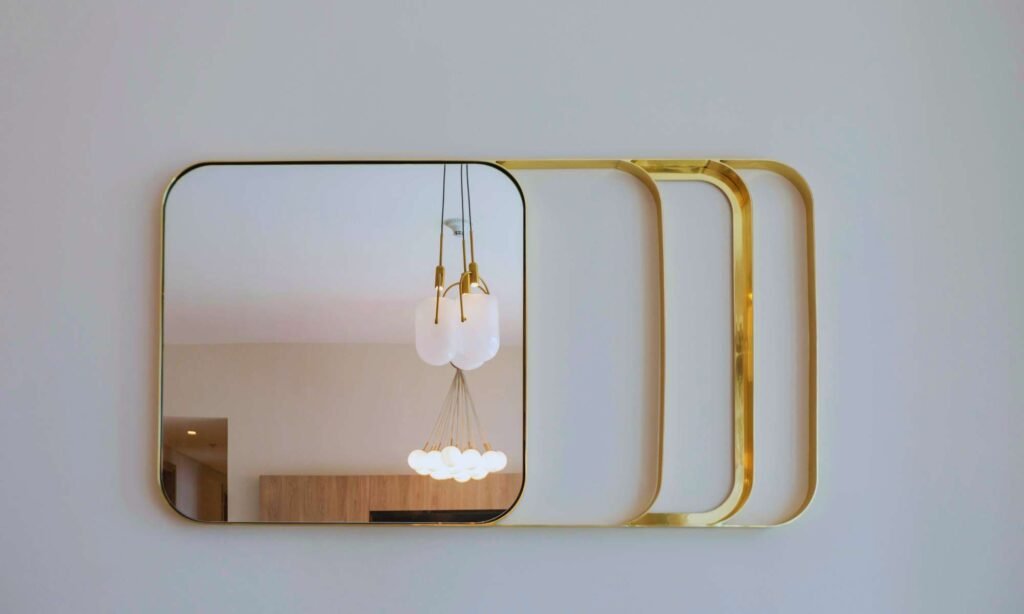
Mirrors are a versatile addition to any room, offering both functionality and aesthetic appeal. Knowing how to attach a mirror to the wall can transform your space, making it feel larger and brighter. This guide will walk you through the essential steps to securely and stylishly mount your mirror, ensuring it becomes a stunning focal point. Whether you’re a DIY enthusiast or a beginner, our easy-to-follow instructions will help you achieve professional results without the hassle. From selecting the perfect spot to using the right tools and techniques, you’ll learn everything needed to safely and effectively hang your mirror. Boost your home’s decor and create an inviting atmosphere with our expert tips on how to attach a mirror to the wall. Read on to discover how a simple mirror can make a significant impact on your living space.
Choosing the Right Location
Choosing the right location for your mirror is crucial for both functionality and aesthetics. Start by assessing the wall’s strength and stability to ensure it can safely hold the mirror’s weight. Look for studs or solid surfaces that provide the necessary support. Next, consider the height and placement to achieve optimal reflection and visual appeal. Position the looking glass at eye level and think about what it will reflect, such as natural light or a beautiful view, to enhance the room’s ambiance. Ensuring the walls can support the mirror’s weight is essential; use proper anchors and brackets for a secure installation. Taking these factors into account will help you choose the perfect spot for your looking glass, ensuring it is both safe and visually pleasing. Proper planning guarantees your mirror will be a stunning and functional addition to your space.
Gathering Necessary Tools and Materials
Before you start attaching a mirror to the wall, it’s crucial to gather all the necessary tools and materials. Begin with essential tools like a drill, level, tape measure, and pencil. These will ensure precise measurements and accurate installation. Next, choose the right mounting hardware, including brackets, wall anchors, and screws, suitable for the weight and type of your looking glass. Don’t forget safety equipment—gloves and safety glasses are a must to protect your hands and eyes during the process. Having all these items on hand before you start will streamline the installation and help you achieve professional results. Proper preparation is key to securely and safely attaching your mirror, enhancing your space with confidence.
Measuring and Marking
Accurate measuring and marking are crucial steps when learning how to attach a mirror to the wall. Start by measuring the dimensions of your looking glass and the wall space where you plan to hang it. Use a tape measure to ensure precise measurements. Next, mark the walls for exact placement. This step ensures your mirror hangs correctly and looks aesthetically pleasing. Use a pencil to make light marks on the wall at the top and sides of the looking glass. To ensure level alignment, use a spirit level. Place the level along your pencil marks to verify they are even. This prevents your mirror from hanging crookedly. Proper measuring and marking are essential for a secure and visually appealing mirror installation, ensuring a flawless result every time.
Preparing the Wall
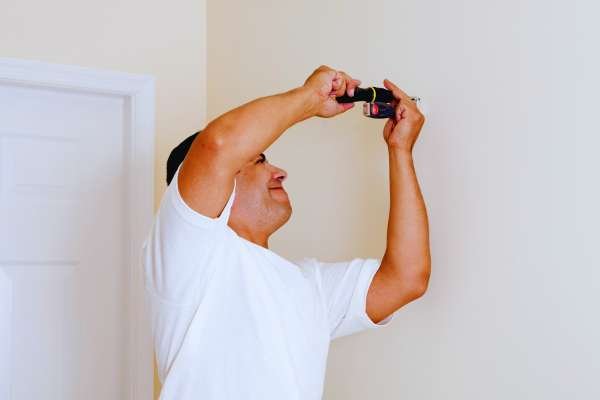
Before attaching your mirror, ensure the wall is clean and ready for installation. Start by wiping the wall surface with a mild cleaner to remove dust and debris, creating a smooth area for mounting. Next, locate the wall studs using a stud finder; these provide the strongest support for screws. If studs are not available where you want to hang the looking glass, use wall anchors to distribute the weight evenly. Once you’ve identified the ideal spots, mark the positions with a pencil. Drill pilot holes where you’ve marked to make inserting screws easier and more precise. This preparation step is crucial for a secure and stable mirror installation, helping you achieve a flawless finish and ensuring your looking glass stays safely in place.
Installing Mounting Hardware

Installing mounting hardware is crucial for securely attaching a mirror to the wall. Start by selecting the right brackets or clips designed to support the weight and size of your looking glass. Heavy mirrors typically require robust hardware, such as metal brackets or heavy-duty wall anchors, while lighter mirrors might be supported by smaller clips or adhesive hooks. Once you have the appropriate hardware, attach it to the walls using screws or anchors, ensuring each piece is securely fastened. Use a level to double-check the alignment before fully tightening. Properly installed mounting hardware prevents shifting or falling, guaranteeing that your looking glass stays in place and enhances your space effectively. This attention to detail ensures both safety and aesthetic appeal, making your mirror installation both secure and visually pleasing.
Attaching the Mirror
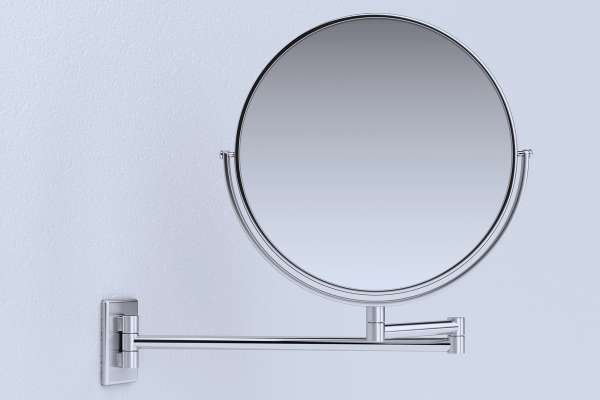
Attaching the mirror to the wall involves several crucial steps for a secure and attractive installation. Begin by carefully lifting and positioning the looking glass at the desired location. Ensure it aligns with the pre-installed mounting hardware or brackets. Once positioned, gently secure the mirror onto the mounting hardware, making sure it is firmly in place. It’s essential to check for any necessary adjustments at this stage to ensure the mirror is level and properly aligned. Taking the time to accurately secure and adjust the mirror will enhance its stability and visual appeal, ensuring a polished look for your space. Following these steps will help achieve a professional finish, making your looking glass both functional and stylish in its new location.
Ensuring Stability and Safety
Ensuring the stability and safety of your mirror is crucial for both functionality and peace of mind. After attaching your mirror to the wall, test its stability by gently applying pressure to ensure it is securely fastened. If you notice any movement or instability, add extra support by using additional wall anchors or brackets. Regular maintenance is key to keeping your mirror safely mounted. Periodically check the mounting hardware and ensure that the looking glass remains firmly in place. If any issues arise, address them promptly to prevent accidents. By following these safety tips and conducting regular checks, you can enjoy your mirror’s beauty and functionality without concerns.
Styling and Finishing Touches
After securely attaching your mirror to the wall, focus on styling and finishing touches to enhance its impact. Start by cleaning the looking glass and the surrounding wall area to ensure a pristine look. Use a glass cleaner and a soft cloth to remove any smudges or dust. Next, consider adding decorative elements around the mirror, such as stylish frames, wall sconces, or artwork, to complement your room’s decor. These additions can create a cohesive and elegant appearance. To further enhance the mirror’s presence, position it strategically to reflect light and brighten the room. Consider the mirror’s placement to maximize its visual impact and functionality. With these finishing touches, your looking glass will not only be a practical addition but also a stunning centerpiece in your space.
Conclusion
In conclusion, attaching a mirror to the wall involves a few key steps: selecting the right location, measuring and marking precisely, preparing the wall, installing the mounting hardware, and finally securing the looking glass in place. Each step is crucial for ensuring a secure and visually appealing installation. If you enjoyed this DIY project, consider tackling similar home improvements to enhance your living space. Always prioritize safety by using the appropriate tools and hardware, and regularly check the stability of your mirror to prevent accidents. With these tips, you’ll maintain both the functionality and beauty of your mirror for years to come. Embrace your DIY skills and transform your home with confidence!
FAQ: How to Attach Mirror to Wall
What tools do I need to attach a mirror to the wall?
You’ll need a drill, screwdriver, tape measure, level, pencil, wall anchors or screws, and brackets or clips suitable for your mirror’s weight. Safety goggles and gloves are also recommended.
How do I choose the right location for my mirror?
Select a location that is both aesthetically pleasing and structurally sound. Ensure the wall can support the mirror’s weight and that it is at a height that enhances the room’s layout and reflection.
How do I measure and mark the wall for mirror installation?
Measure the mirror and the wall area, then use a pencil to mark where the mounting hardware will go. Use a level to ensure your markings are straight and properly aligned.
Do I need to use wall anchors or can I drill directly into the studs?
For heavy mirrors, it’s best to secure the hardware into wall studs. If studs are not available, use appropriate wall anchors to ensure the looking glass is securely mounted.
How do I ensure the mirror is level when attaching it to the wall?
Use a level tool to check that the mirror is perfectly horizontal as you secure it. This will prevent it from tilting and ensure a professional finish.