
Hanging a mirror on a concrete wall can seem difficult, but with the proper equipment and steps, it’s less difficult than you believe you studied. Whether you’re enhancing a dwelling space or adding capability to a room, learning how to hang a mirror on a concrete wall is a treasured talent.
In this manual, we’ll stroll you through the system, from choosing the right hardware to making sure of a steady stage setup. Follow our easy, step-by-step instructions to soundly and stylishly add a reflection to any concrete floor, reworking your area simply.
Tools and Materials You’ll Need
To hang a mirror on a concrete wall, you’ll need specific tools and materials to ensure the job is done right. Essential items include a power drill with a masonry bit, a hammer, wall anchors, masonry screws, a level, and measuring tape.
For heavier mirrors, consider heavy-duty anchors for added support. If you’re on a budget or don’t have certain tools, you can opt for adhesive strips designed for concrete or rent a drill from a hardware store. Proper tools will make the process easier and guarantee your mirror stays securely in place.
Step 1: Measure and Mark the Wall
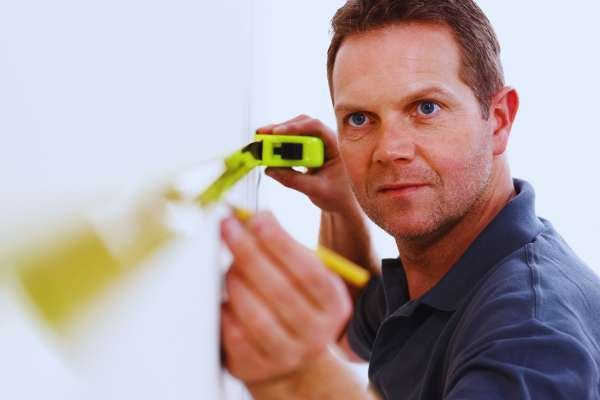
Accurate measurements are essential while learning how to hang a mirror on a concrete wall. Start finding out the precise top of your reflection, thinking about factors like eye level, room size, and surrounding décor. For premier placement, the middle of the mirror should be around fifty-seven to sixty inches from the ground, or aligned with nearby fixtures.
Once you’ve chosen the spot, use a tape measure to mark the wall. This guarantees the mirror is placed symmetrically, and using a pencil for marking makes corrections smooth. Precise measurements assure a balanced, expert look.
Step 2: Use a Level to Ensure Precision
Using a stage is essential whilst placing a replicate on a concrete wall to ensure precision and stability. Start with the aid of placing the extent against the wall where you propose to cling the reflect. Mark directly traces on the preferred peak to manual your drilling and anchor placement.
This step prevents your mirror from searching unevenly, which is specifically important on strong, rigid surfaces like concrete. Precise leveling ensures that the replicate will grasp flawlessly aligned, adding a professional touch to your room without the need for consistent modifications.
Step 3: Drill Pilot Holes into the Concrete
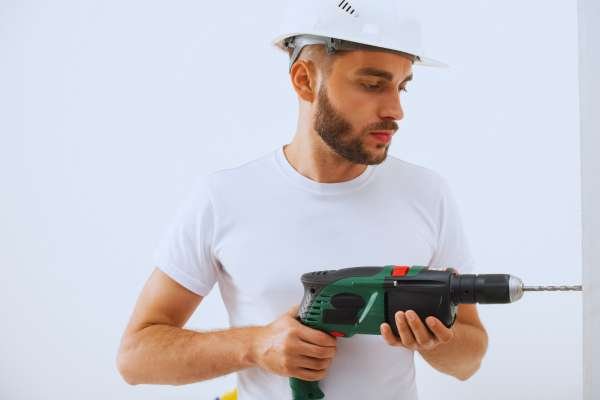
Drilling pilot holes into concrete requires the right gear and technique to ensure an easy method. First, choose a masonry drill bit that matches the dimensions of your wall anchors. Typically, a 1/four-inch or three/eight-inch bit works well for maximum mirror mounts. Use a hammer drill for better penetration on tough concrete surfaces, applying regular stress as you drill.
Always wear protection goggles to shield your eyes from dust and debris, and make certain the drill is perpendicular to the wall for correct, easy holes. Proper protection and precision are key for a stable setup.
Step 4: Insert Wall Anchors
Inserting wall anchors is an important step while learning how to hang a mirror on a concrete wall. Wall anchors offer the stability needed to maintain the burden of the replicate securely, stopping it from slipping or being unfavorable to the partition. To insert them, first, drill a pilot hollow into the concrete using a masonry bit that matches the dimensions of your anchor.
Next, gently faucet the anchor into the hollow until it’s flush with the wall. Once in location, they invent a stable base for screws, ensuring your replicate remains firmly set up.
Step 5: Position the Mirror Brackets or Hooks
When hanging a mirror on a concrete wall, choosing the right brackets or hooks is crucial, especially considering the mirror’s weight. Heavy mirrors require sturdy hardware like metal brackets or toggle bolts, while lighter mirrors can use basic hooks or adhesive-backed hangers.
Once you’ve selected the appropriate hardware, securely attach it to the wall anchors installed earlier. Ensure the brackets or hooks are firmly aligned with the drilled holes, providing even weight distribution. Double-check everything is tightly secured before placing the mirror, ensuring it hangs safely and stays in position.
Step 6: Hang the Mirror on the Wall
To hang the mirror on the wall, carefully lift the mirror and position it onto the installed brackets or hooks. If the mirror is large or heavy, it’s essential to have a second person help you to avoid injury or damage to the partition. Hold the mirror securely from both sides, align it with the brackets, and gently slide it into place. Use slow, controlled movements to ensure the mirror doesn’t shift. Once the mirror is securely on the wall, double-check that it’s level and stable.
Step 7: Make Final Adjustments
Once your replica is hung, it’s vital to make certain it’s perfectly designed and balanced. Use a level to test that the reflect sits directly; alter it if vital. If the replicate appears crooked, gently lift one side and reposition it slightly.
For minor tweaks, don’t forget to adjust the mounting hardware or add small shims behind the reflect to attain the desired alignment. Taking these final steps now not only complements the aesthetic attraction of your area but also guarantees the replication remains securely in place for years yet to come.
Conclusion
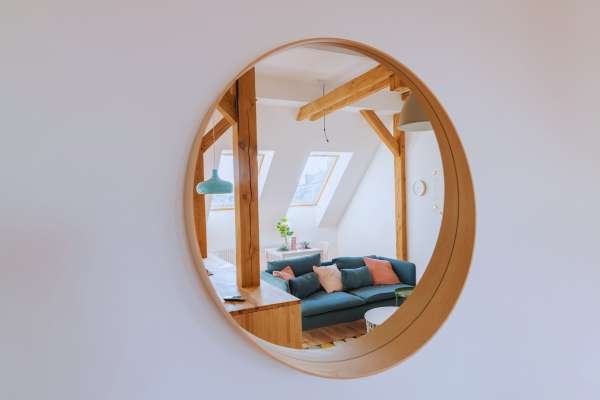
In conclusion, gaining knowledge of how to hang a mirror on a concrete wall is a worthwhile DIY assignment that enhances your home’s style and functionality. By following the mentioned steps—measuring, drilling, and making the very last changes—you could attain a secure and aesthetically fascinating installation.
A well-located reflector no longer only reflects light but additionally creates a phantasm of area, making any room experience extra inviting. With the right gear and strategies, you may optimistically address this mission and enjoy the converted appearance of your area for future years.