Mirrors play a crucial role in home decor, offering both functionality and style. Knowing how to hang a mirror on the wall can enhance your space by reflecting light, creating the illusion of a larger room, and adding an elegant touch. The benefits of hanging mirrors on walls are numerous, from brightening dark corners to serving as stunning focal points. This professional guide will provide a brief overview of the process, ensuring you achieve a flawless result. From selecting the perfect spot and gathering the necessary tools to safely and securely mounting your mirror, you’ll find all the steps you need to confidently enhance your home decor with mirrors.
Choosing the Right Mirror
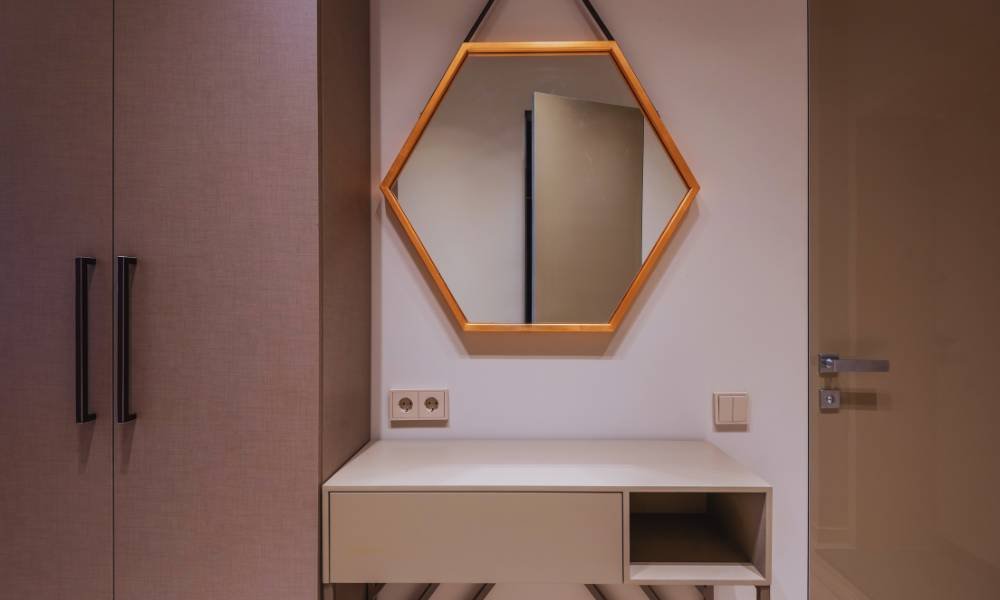
Choosing the right mirror is essential when learning how to hang a mirror on the wall. Consider the size and shape that best complement your space, whether a large rectangular mirror for a hallway or a round mirror for a bathroom. The frame style and material should match your existing decor, from sleek metal frames for modern spaces to ornate wooden frames for traditional rooms. Additionally, consider the weight of the looking glass, as heavier mirrors require sturdier mounting hardware. By carefully selecting the size, shape, frame style, material, and weight, you ensure your mirror enhances your home decor and is securely hung.
Selecting the Perfect Spot
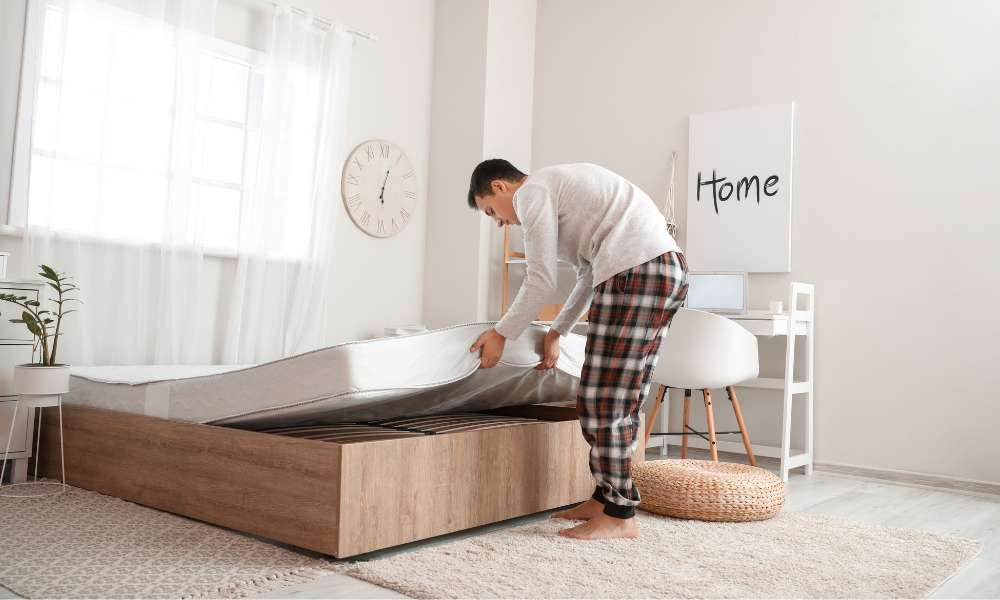
Selecting the perfect spot for your mirror is crucial for maximizing its impact. When learning how to hang a mirror on the wall, consider ideal locations such as opposite windows to enhance natural light and create the illusion of a larger space. Placing mirrors in hallways, above consoles, or as statement pieces in living rooms can significantly elevate your decor. Avoid common placement mistakes like hanging mirrors too high or in areas with too much direct sunlight, which can cause glare. Proper positioning ensures your looking glass not only looks great but also enhances your room’s overall ambiance.
Gathering Necessary Tools and Materials
Gathering the necessary tools and materials is the first step in learning how to hang a mirror on the wall. Ensure you have a measuring tape, level, pencil, and appropriate wall anchors and screws for your partition type. Wall anchors can vary, so choose ones suited for your wall’s material, whether it’s drywall, plaster, or masonry. Additionally, using safety equipment like gloves and safety glasses is crucial to protect yourself from potential hazards during the installation process. Having all these tools and materials ready will streamline your project, making the mirror-hanging process smooth and efficient.
Preparing the Wall
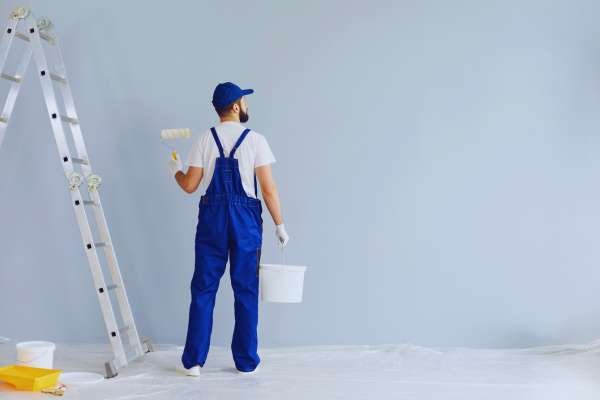
Preparing the wall properly is crucial when learning how to hang a mirror on the wall. Start by checking for studs or using partition anchors to ensure secure support for your looking glass. Studs provide a strong foundation, but wall anchors are necessary for drywall installations. Next, clean the wall surface thoroughly to remove dust and debris, ensuring a smooth and stable mounting area. Finally, accurately mark the hanging points using a pencil, taking care to measure precisely and ensure level alignment. Proper preparation is key to achieving a professional finish and securely hanging your mirror.
Measuring and Marking
When learning how to hang a mirror on the wall, accurate measuring and marking are crucial for a professional finish. Start by measuring the mirror’s dimensions and the desired placement on the wall. Use a pencil to mark where the looking glass will hang, ensuring you align these marks at the correct height and level. To guarantee precision, use a measuring tape and a level tool to double-check that your markings are even. This step prevents crooked placement and ensures the mirror is centered and aligned properly. Accurate measuring and marking are essential for achieving a polished and balanced look that enhances your space effectively.
Installing the Mounting Hardware
When learning how to hang a mirror on the wall, selecting the right mounting hardware is key. Common options include D-rings, wire, and French cleats. For D-rings, attach them to the back of the looking glass, then use screws and wall anchors to secure them to the wall. Wire involves attaching a wire to the D-rings and hanging it on wall hooks. French cleats require installing a wooden or metal cleat on both the wall and the mirror, which interlock for stability. Follow these steps carefully: mark and drill holes, insert wall anchors, and secure the hardware with screws. Ensure everything is level and firmly attached for a safe and stylish installation.
Hanging the Mirror
When it’s time to hang the mirror, start by safely lifting and positioning it against the wall. Ensure you have help if the mirror is heavy. Carefully adjust the looking glass to achieve perfect level and balance, using a level tool for accuracy. Once in position, double-check that the mirror is securely mounted and aligned with your markings. Confirm that all hardware is properly anchored and that the mirror is stable. This step is crucial to avoid accidents and ensure your mirror remains securely in place, enhancing both the safety and aesthetics of your home decor.
Final Touches
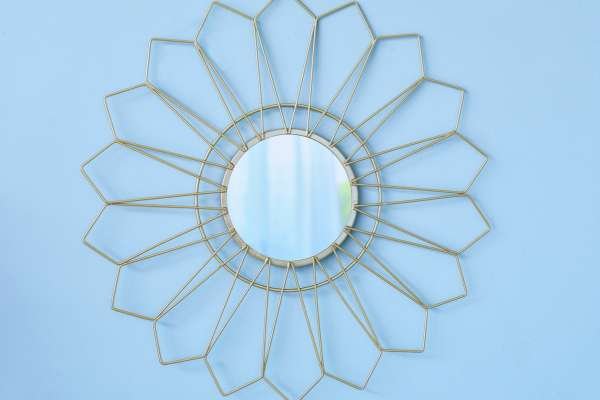
Once your mirror is securely hung, it’s time for the final touches to perfect the look. Start by cleaning the mirror and the surrounding wall to remove any dust or smudges, ensuring a clear and bright reflection. Next, consider adding decorative elements around the looking glass, such as a stylish frame, wall art, or plants, to enhance its visual appeal and integrate it into your room’s decor. Finally, double-check that the mirror is securely hung and properly aligned. This ensures it remains both functional and aesthetically pleasing. By following these steps, you’ll achieve a polished and professional finish, elevating your home decor with a beautifully hung mirror.
Troubleshooting Common Issues
When dealing with common issues related to hanging mirrors, it’s essential to address them promptly. For uneven or crooked mirrors, check if the mounting hardware is level and adjust as needed. If your looking glass feels loose or unstable, ensure all screws and anchors are securely fastened, and consider using additional support if necessary. Rehanging or repositioning a mirror involves removing it carefully, reassessing the placement, and making sure that the new spots are level and adequately supported. By following these troubleshooting tips, you’ll ensure that your mirror is both aesthetically pleasing and securely installed.
Safety Tips and Precautions
When learning how to hang a mirror on the wall, safety is paramount. Handling heavy mirrors requires extra care to prevent accidents. Always use proper lifting techniques and get help if needed. To avoid damaging both the looking glass and your walls, ensure you use appropriate wall anchors and mounting hardware suited for the mirror’s weight. Take time to check the stability of the looking glass after installation and make adjustments if necessary. Regular maintenance is also essential—inspect the mirror and mounting hardware periodically to ensure everything remains secure and intact. Following these safety tips will ensure a successful and trouble-free mirror-hanging experience.
Conclusion
Hanging a mirror on your wall can transform the space, adding both beauty and functionality. By following the outlined steps—choosing the right looking glass, preparing your wall, and properly securing the mirror—you ensure a flawless installation that enhances your room’s aesthetics and maximizes light and space.
Remember to select appropriate tools and materials, consider the weight and size of your mirror, and choose the right wall anchors for a secure and lasting hold. Attention to detail in alignment and installation not only ensures safety but also contributes to a polished and professional finish.