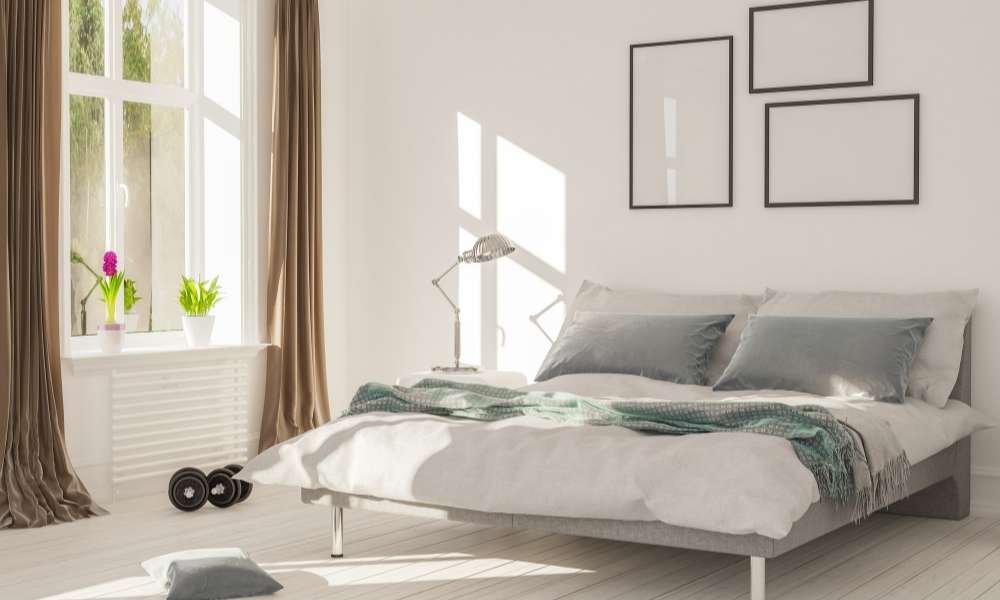
A fitted bed sheet is designed to snugly fit over your mattress, with elasticized corners that prevent it from slipping off. Well-fitting bed sheets are crucial for a comfortable night’s sleep and enhance the overall aesthetics of your bedroom. Making your own fitted cot sheets not only allows you to customize the fabric and design but also ensures a perfect fit for any mattress size. By learning how to make a fitted bed sheet, you can save money, choose high-quality materials, and enjoy a personalized touch in your bedding. This guide will walk you through the process step-by-step, making it easy to create your own fitted sheets at home.
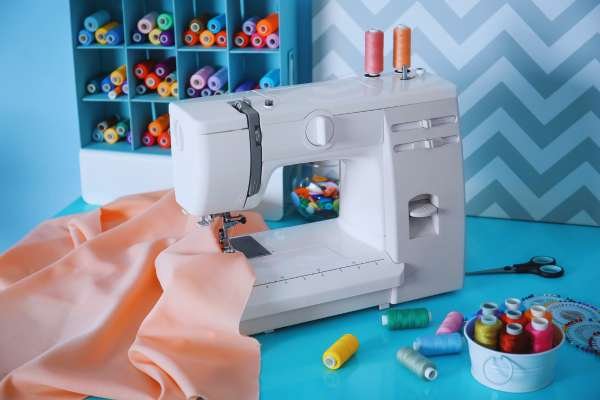
Materials Needed
Creating a fitted bed sheet requires specific materials to ensure a perfect fit and long-lasting durability. Here’s what you’ll need: quality fabric (cotton, flannel, or linen are excellent choices), 1/4-inch wide elastic, sewing tools (scissors, measuring tape, pins, sewing machine, and thread), and a marking tool. When selecting the right fabric, opt for a breathable and durable material. Cotton is popular due to its softness and durability, while flannel is great for cooler climates. Linen offers a luxurious feel but can be pricier. On average, the cost of making a DIY fitted cover ranges from $15 to $30, depending on fabric choice and mattress size. By carefully selecting your materials, you can create a fitted bed sheet that enhances your sleeping experience and saves money compared to store-bought options.
Measuring Your Mattress
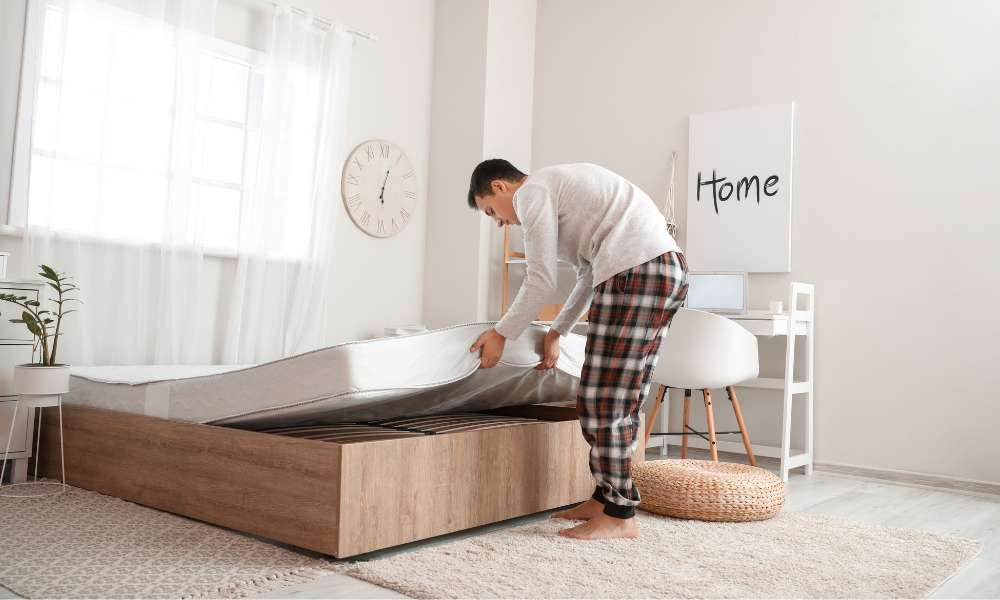
Accurate measurements are crucial when making a fitted bed sheet to ensure a snug and professional fit. To measure your mattress correctly, start by measuring the length from the head to the foot of the mattress. Next, measure the width from one side to the other. Finally, measure the depth by determining the thickness of the mattress, including any toppers. These precise measurements are essential for a perfect fit, preventing the fitted cover from slipping off or bunching up. For different mattress sizes—twin, full, queen, and king—use a flexible measuring tape and note down each dimension. Accurate measurements for your mattress ensure that your fitted sheet will stay securely in place, enhancing both comfort and aesthetics. Always double-check your measurements to guarantee the best results for your DIY fitted bed sheet project.
Cutting the Fabric
To begin making your fitted bed sheet, cutting the fabric accurately is crucial. Start by laying out your fabric on a flat surface. Using a measuring tape, measure the length and width of your mattress, adding extra inches for seam allowances and tucking under the mattress. For a snug fit, add 8 inches to each side. Mark these measurements on the fabric with a fabric chalk or pencil. Next, use a sharp pair of fabric scissors to cut along the marked lines. Ensure your cuts are straight and precise. Including visual aids or diagrams can significantly help illustrate this cutting process, making it easier to follow. Properly cutting the fabric is essential for ensuring that your fitted bed sheet fits perfectly, providing both comfort and a neat appearance.
Sewing the Corners
Sewing the corners of your fitted bed sheet is crucial for achieving a snug fit. To sew mitered corners, start by folding the fabric at each corner to form a right-angle triangle. Pin the fabric securely and sew along the edge to create a clean, tight seam. Accuracy is key, so ensure your pins are placed evenly to avoid misalignment. A common issue when sewing corners is fabric bunching; to prevent this, maintain a steady sewing pace and smooth out the fabric as you go. Another tip is to double-stitch the seams for extra durability, ensuring your fitted cot sheet withstands regular use. If you encounter any puckering or uneven seams, re-pinning and adjusting the fabric can help resolve these issues. With precise sewing techniques, your fitted bed cover will have professionally finished corners that enhance both its fit and appearance.
Adding Elastic
Adding elastic to a fitted bed sheet is a crucial step to ensure it stays securely in place on your mattress. To start, measure the perimeter of your mattress to determine how much elastic you’ll need, typically around 1/4 to 1/2 inch wide. Cut the elastic to match this measurement, adding a few extra inches for overlap. When attaching the elastic, fold the fabric edge over the elastic and sew it in place, stretching the elastic slightly as you go. This technique helps the sheet grip the mattress firmly. Make sure to distribute the elastic evenly by dividing both the elastic and cover into quarters, pinning at these points, and sewing gradually. This method ensures a smooth, professional finish. Remember, a well-fitted bed sheet not only looks tidy but also enhances comfort.
Hemming the Edges
Hemming the edges of your fitted bed sheet is crucial for a polished, professional look. Start by folding the raw edges of the fabric over about half an inch and press with an iron to create a crisp fold. Fold the edge over once more to encase the raw edge, pressing again. Pin the hem in place, then sew close to the inner fold, ensuring your stitches are even and secure. Various hemming techniques include a simple double fold hem, which is easy and durable, and a rolled hem, which gives a delicate, lightweight finish. The double fold hem is ideal for most cot sheets, providing strength and longevity. For a truly professional-looking hem, ensure your fabric is flat and smooth while sewing, use matching thread, and maintain consistent stitch length. Hemming the edges correctly ensures your fitted bed cover is durable and visually appealing.
Final Fitting and Adjustments
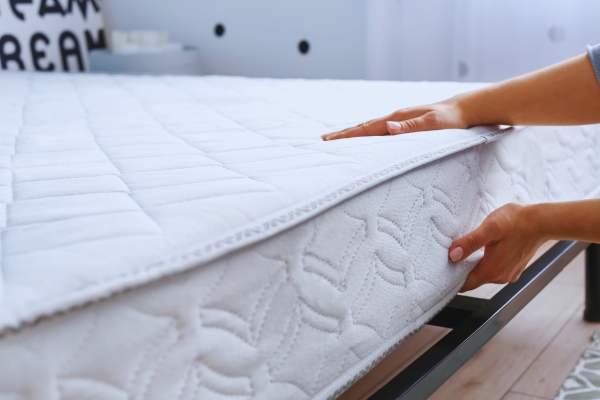
Testing your fitted bed sheet on the mattress is crucial for ensuring a perfect fit. Start by placing the sheet over the mattress corners, making sure the elastic edges wrap snugly. If the cover is too loose or too tight, adjustments are necessary. For a better fit, sew deeper corner seams or adjust the elastic length. Once the fitted bed sheet fits perfectly, iron it to remove any wrinkles and give it a polished look. Pay attention to the edges and corners during ironing to maintain a crisp finish. These final fitting and adjustments steps ensure your DIY fitted cot sheet not only looks professional but also stays securely in place, enhancing your sleeping comfort. Remember, a well-fitted bed cover can significantly improve your bedroom’s overall aesthetic and functionality.
Maintenance and Care
Maintaining and caring for your DIY fitted bed sheet is crucial for preserving its quality and longevity. Start by washing your fitted sheets in cold water to prevent shrinkage and preserve the fabric’s integrity. Avoid using harsh detergents or bleach, as they can weaken the fibers over time. When drying, opt for a low heat setting or air drying to prevent damage from high temperatures. To prolong the life of your cover, consider rotating it with other sets to reduce wear and tear. When storing, fold your fitted sheet neatly to prevent creases and wrinkles. Store them in a cool, dry place away from direct sunlight to prevent discoloration. Following these simple tips will ensure that your DIY fitted sheet remains fresh and comfortable for years to come.
Conclusion
In conclusion, crafting your own fitted bed sheet is a rewarding DIY project. By following the steps outlined in this guide, you can create a custom-fitted cover tailored to your mattress perfectly. Experiment with various fabric choices and sizes to suit your preferences. Don’t hesitate to explore making fitted sheets for different mattress sizes—it’s easier than you think! We encourage you to dive into this creative endeavor and share your experiences and photos with us. Let’s inspire each other to elevate our bedding game with handmade, custom-fit sheets. Start your journey today and transform your bedroom with personalized touches.
FAQ
Do I need advanced sewing skills to make a fitted bed sheet?
Basic sewing skills are sufficient for making a fitted bed sheet. Clear instructions and simple techniques are provided in our guide.
Can I use any type of fabric to make a fitted sheet?
Yes, you can use various fabrics like cotton, linen, or jersey knit. Choose a fabric that is comfortable and durable for your needs.
How do I determine the right size for my fitted sheet?
Measure your mattress carefully, including the length, width, and depth. Our guide provides detailed instructions on measuring for a perfect fit.
Is it necessary to add elastic to the edges of the fitted sheet?
Yes, elastic helps to keep the sheet snugly in place around the mattress. Our guide explains how to attach elastic for optimal results.
Can I customize the design of my fitted sheet?
Absolutely! You can choose the fabric color, pattern, and even add decorative elements if desired. Get creative and make a fitted sheet that complements your bedroom decor.
How long does it take to make a fitted bed sheet?
The time required depends on your sewing experience and the complexity of the design. Generally, it can take a few hours to complete a fitted sheet from start to finish.