Mounting a mirror on the wall is not just about placement—it’s about enhancing your room’s aesthetics and functionality. Learning how to mount a mirror on the wall ensures it’s secure and visually appealing, preventing accidents and damage. Wall-mounted mirrors save space, making rooms feel larger and more open, while also adding a stylish touch. Properly mounted mirrors can reflect light, brightening up your space and creating a focal point. This guide will walk you through the essential steps to ensure your mirror is securely and beautifully displayed, elevating your room’s overall design and ambiance.
Choosing the Right Mirror
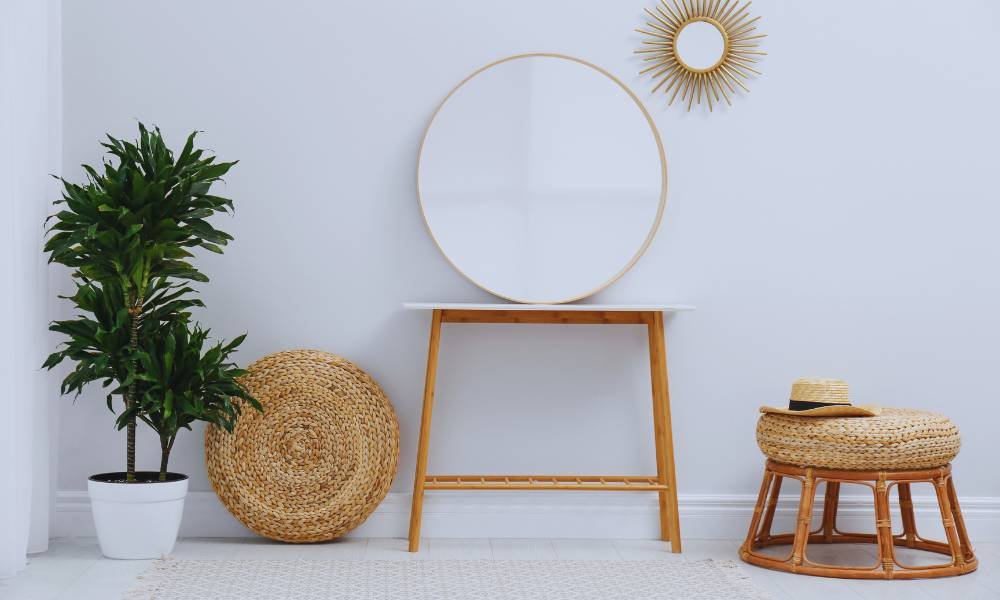
When learning how to mount a mirror on the wall, selecting the right mirror is crucial. First, consider the size and weight—larger, heavier mirrors need stronger support, while smaller mirrors offer more flexibility. Choose a looking glass style that complements your space, enhancing the room’s design and purpose. For example, a sleek, modern mirror suits minimalist decor, while ornate frames work well in traditional settings. Matching the mirror’s shape and size to the wall ensures a balanced look. By considering these factors, you’ll not only mount your looking glass securely but also elevate your room’s overall aesthetic.
Tools and Materials Needed
Mounting a mirror on the wall requires the right tools and materials to ensure a secure and lasting installation. Key tools include a measuring tape for precise placement, a level to keep the looking glass straight, a drill for making holes, and screws and anchors to secure the mirror. Depending on the wall type, adhesive strips or mirror clips can be useful for added stability. Having these materials on hand before starting will streamline the process and help achieve a professional finish. Properly using these tools ensures your looking glass is safely and attractively mounted, enhancing your room’s decor.
Selecting the Ideal Location
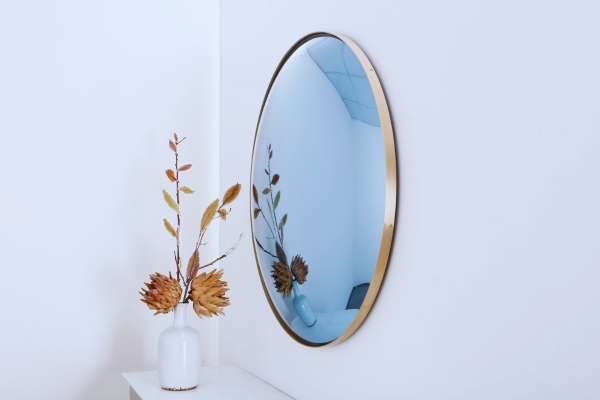
Selecting the ideal location is crucial when learning how to mount a mirror on the wall. Start by choosing a partition that complements the room’s layout and enhances natural light. Consider the height of the mirror—eye level is typically best for most spaces. Placement should be carefully chosen, avoiding direct alignment with furniture edges or obstacles. Ensure the looking glass reflects a pleasing view, whether it’s a beautiful piece of artwork or a window, to enhance the room’s aesthetics. Proper placement not only adds depth and style but also creates a harmonious and balanced look in any room.
Measuring and Marking the Wall
Accurately measuring and marking the wall is crucial when learning how to mount a mirror on the wall. Start by using a tape measure to find the center of the partition where the looking glass will be placed. Mark the height where you want the top of the mirror to be, ensuring it’s at eye level. Next, measure the distance between the mounting points on the back of the looking glass and transfer those measurements to the wall. Use a level to make sure the marks are perfectly horizontal, ensuring your mirror will hang straight and balanced, creating a polished look.
Preparing the Wall
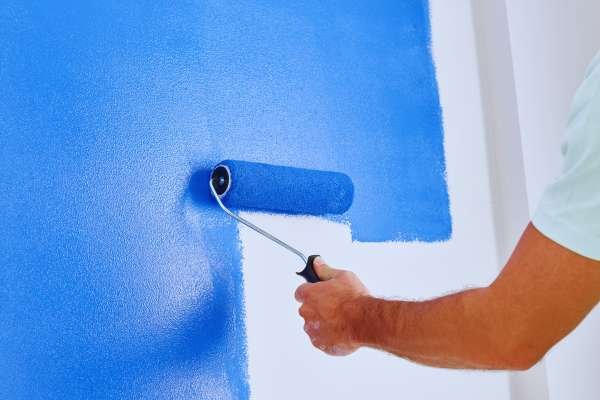
Preparing the wall is a crucial step in ensuring your mirror is securely mounted. Before you begin, determine the wall type—whether drywall, plaster, or brick—as this will dictate the tools and techniques needed. For drywall, installing partition anchors is often necessary to support the mirror’s weight, while brick or plaster may require special drills or masonry screws. Start by marking the desired position, then carefully install the anchors or screws at the marked points. This preparation ensures your looking glass is firmly mounted, preventing accidents and ensuring it stays in place, enhancing your room’s overall appearance and safety.
Mounting Methods
When learning how to mount a mirror on the wall, choosing the right mounting method is crucial for a secure installation. Common methods include hooks, brackets, adhesive strips, and wire. Hooks and brackets offer robust support for heavier mirrors but require drilling. Adhesive strips are easy to apply and ideal for lightweight mirrors, though they may not be as durable. Wire hanging is versatile and suitable for various looking glass sizes but requires precise measurement. Each method has its pros and cons, so select the one that best fits your mirror’s weight and your wall type to ensure a safe and stylish setup.
Hanging the Mirror
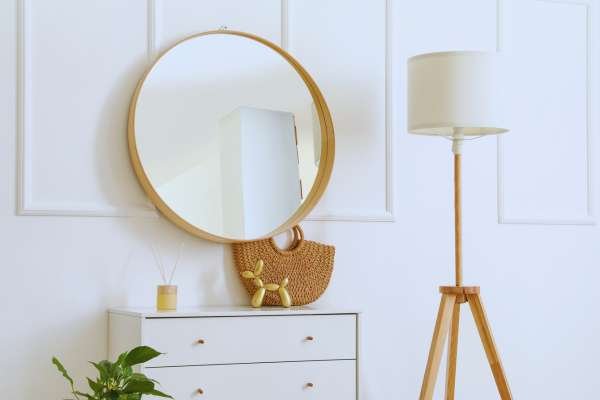
To securely hang a mirror on the wall, start by positioning it against the wall where you marked your mounting points. Use a level to ensure it’s perfectly straight before securing it. Depending on your mounting method, either hang the looking glass on hooks or brackets or carefully place adhesive strips or wire. Double-check the alignment with the level to avoid any crooked placement. Test the stability by gently applying pressure to ensure it’s firmly attached and won’t shift or fall. Following these steps will guarantee a secure and visually appealing mirror installation, enhancing both function and style in your space.
Safety Tips
When mounting a mirror on the wall, safety is crucial. To ensure a secure installation, carefully lift and handle the looking glass, using proper lifting techniques to avoid injury. Always have a helper if the mirror is large or heavy. Before securing the mirror, check its stability by gently pressing it against the partition to ensure it is level and firmly in place. Use appropriate wall anchors and mounting hardware for your wall type to prevent accidents. Regularly inspect the looking glass for any signs of instability or shifting. Following these safety tips will help you achieve a safe and successful mirror installation.
Final Touches and Maintenance
Once your mirror is securely mounted, it’s time for the final touches. Regularly clean the mirror with a glass cleaner and a microfiber cloth to maintain its clarity and shine. Ensure the looking glass remains securely attached by checking the mounting hardware periodically. To enhance the look, consider adding decorative elements like a stylish frame or wall sconces. These additions can complement your mirror and elevate the room’s design. Keeping your looking glass clean and well-maintained not only preserves its appearance but also ensures its longevity, making it a standout feature in your home.
Conclusion
In conclusion, learning how to mount a mirror on the wall is a straightforward project that can significantly enhance your space. By following the outlined steps, you ensure a secure and stylish installation, maximizing both functionality and aesthetics. Wall-mounted mirrors save space, add elegance, and can make rooms appear larger and brighter. With the right tools and a little confidence, you can achieve a professional finish that elevates your room’s design. Embrace this easy home improvement task and enjoy the benefits of a beautifully mounted mirror that complements your interior decor.
FAQ For How To Mount Mirror On Wall
What tools do I need to mount a mirror on the wall?
You’ll need a measuring tape, level, drill, screws, anchors, and potentially adhesive strips or mirror clips.
How do I choose the right location to mount a mirror?
Select a location that complements your room’s layout, ensuring the mirror is at an appropriate height and centered for optimal aesthetics.
Can I mount a heavy mirror on drywall?
Yes, but it’s crucial to use the right anchors or brackets designed to support the mirror’s weight.
What are the different methods to mount a mirror?
Common methods include using hooks, brackets, adhesive strips, or wires, depending on the mirror’s size and weight.
How do I ensure my mirror is level when mounting it?
Use a level to mark the mounting points on the wall before drilling to ensure the mirror is perfectly aligned.