Removing a glued mirror from a wall can seem daunting; however, it will become doable with the proper equipment and a step-by-step technique. Whether you’re reworking or simply changing a reflection, understanding how to remove a glued mirror from a wall without damaging the surface is essential.
This manual will walk you through the technique thoroughly and efficaciously, helping you avoid steeply-priced mistakes. Follow along as we break down each step, ensuring your walls and mirrors stay intact during the removal process.
Tools You’ll Need
To correctly take away a glued mirror from the wall, having the right gear is vital. You’ll need a putty knife or pry bar to gently loosen the replicate’s edges, and a heat gun or hairdryer to melt the adhesive. Wire or dental floss facilitates reduction through the glue without unfavorable the replication or wall.
Wear protective gloves to save you from harm and have a drop material to defend the ground from falling debris. This gear ensures you can dispose of the mirror effectively at the same time as minimizing wall harm and keeping safety in the course of the process.
Safety First: Protect Yourself and Your Space
Before starting the method of disposing of a glued reflection, it is critical to prioritize protection. Always wear protective gloves to protect your arms from sharp edges or broken glass, and use eye protection to shield yourself from capability shards. Place a drop cloth, blanket, or sturdy cardboard on the floor underneath the replicate to seize any falling pieces and protect your flooring. Mirrors can be heavy and fragile, so it’s pleasant to have a 2D person assist you. Taking those simple precautions ensures a safer and smoother mirror elimination method.
Step 1: Loosen the Mirror Edges

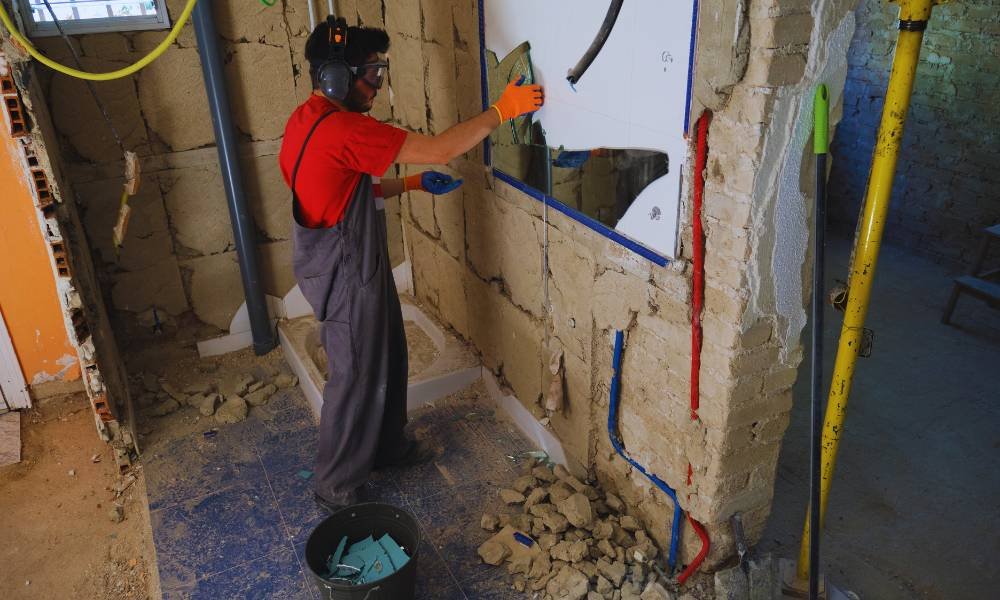
To begin the process of removing a glued mirror, the first step is to loosen the edges carefully. Using a putty knife or pry bar, gently insert the tool between the reflection and the wall. Work slowly to avoid cracking the glass. As you maneuver, be vigilant for any hidden screws or attachments that might be securing the mirror in place. Checking for these can save you from unexpected challenges later on. This initial step is crucial, setting the stage for a smoother removal process without damaging your wall.
Step 2: Soften the Adhesive with Heat
To successfully remove a glued mirror, it’s essential to soften the adhesive behind it. Safely applying a heat gun or hairdryer is an effective method for this. Set the heat tool to a low setting and hold it a few inches away from the mirror’s surface.
Move it back and forth to evenly distribute the heat, focusing on the edges where the adhesive is strongest. Be cautious not to overheat the glass, as this can cause cracking. Allow the warmth to work on the glue for a few minutes, making it easier to pry the reflection away.
Step 3: Use Wire or Floss to Separate the Mirror
To effectively separate a glued mirror from the wall, using wire or dental floss is an excellent technique. Begin by carefully threading the wire or floss behind the reflection, ensuring it reaches the adhesive layer. Gently pull the wire back and forth in a slow, steady motion to work through the adhesive bond.
This method reduces the risk of breaking the mirror, allowing for a smoother removal process. Patience is key here; taking your time will help preserve the integrity of the reflection and make the entire task easier.
Step 4: Gently Pry the Mirror Off
Once the adhesive has softened, it’s time to gently pry the mirror off the wall. Use a putty knife or a similar tool to carefully work along the edges, applying even pressure as you go. Take your time and avoid sudden movements, as this can lead to cracks or breaks in the reflection. Slide the tool slowly between the mirror and the wall, feeling for any resistance. Patience is key here; the goal is to detach the reflection without damaging either the glass or the surface behind it.
Step 5: Safely Remove Any Remaining Adhesive
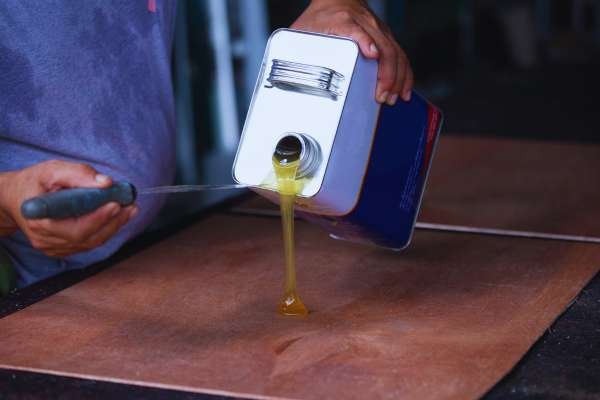
Once the mirror is removed, it’s essential to address any leftover adhesive on the wall. Start by using a scraper to gently remove the bulk of the glue. Be cautious to avoid damaging the wall surface. For stubborn residue, an adhesive remover can be effective; simply apply it according to the manufacturer’s instructions.
After all the adhesive is gone, smooth the wall by lightly sanding the area or using a wall patching compound for any imperfections. This preparation will ensure a clean surface for painting or installing a new mirror, enhancing your space beautifully.
What to Do if the Mirror Breaks

If your mirror breaks while attempting to remove it, safety is your top priority. First, put on thick gloves to protect your hands from sharp edges. Carefully pick up larger pieces and place them in a sturdy box or trash bag for disposal. For smaller shards, use a vacuum with a hose attachment to ensure you capture every tiny fragment. After vacuuming, check the area with a flashlight to spot any remaining shards. Dispose of all broken glass responsibly to prevent accidents, ensuring your cleanup is thorough and safe.
Conclusion
In conclusion, expertise on how to remove a glued mirror from wall is essential for any DIY enthusiast. By following the proper steps, you can well detach the replicate without detrimental to your wall. Remember to accumulate the essential gadget, take the right safety precautions, and be the affected person in the course of the way.
If injuries occur, like breaking the mirror, prioritize protection by cleansing up carefully. With the hints supplied, you’ll now not only successfully get rid of the replicate, but also prepare your location for brand-spanking new decor. Embrace your subsequent task with self-assurance!