Removing replicate adhesive from a wall can seem challenging, but with the right technique, you may do it safely and efficiently. Whether you are renovating, adorning, or shifting, getting to know how to remove mirror adhesive from the wall is vital to save you harm and keep your area looking easy. In this manual, we’ll show you step-by-step how to melt and dispose of adhesive without harming your walls. With the right tools and strategies, you can restore your wall to its original condition without problems and self-assurance.
Gather the Necessary Tools and Materials
To efficiently remove mirror adhesive from the wall, it is essential to gather the right tools and substances. You’ll want a putty knife, warmth gun or hairdryer, a colloidal remover, gloves, and protective eyewear. The putty knife allows you to gently scrape off adhesive without damaging the partition, while the warmth gun softens it, making removal easier.
Colloidal removers are vital for loosening any cussed residue. Gloves and protecting eyewear make certain your safety at some point of the manner. Having that equipment accessible will streamline the process and help you achieve a clean, damage-free floor.
Safety First: Protect Yourself and Your Space
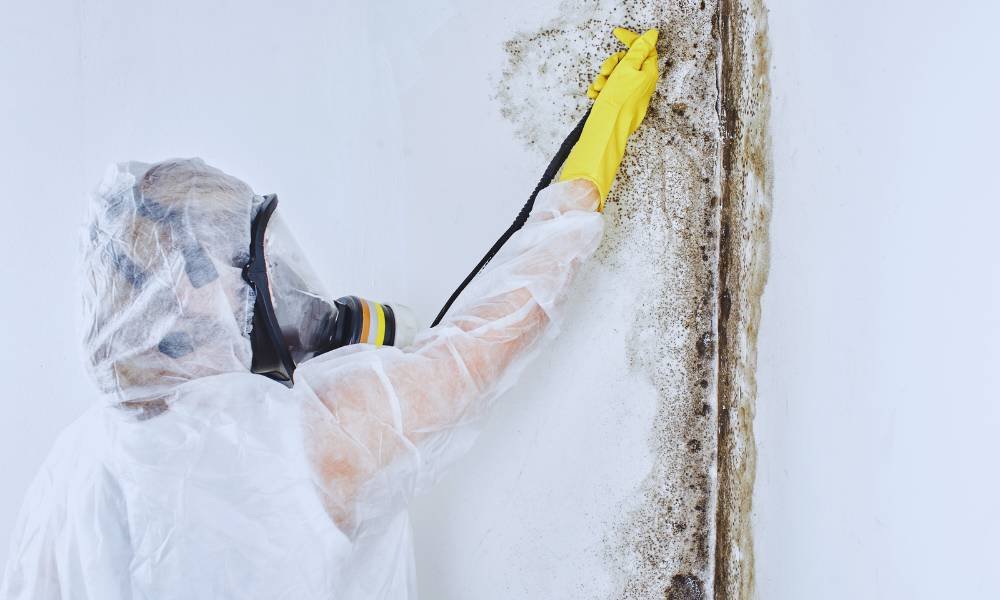
When removing mirror adhesive from a wall, safety needs to be your pinnacle priority. Start with the aid of sporting shielding gloves to save your pores and skin infections and safety glasses to protect your eyes from particles. Cover the floors with drop cloths or plastic sheeting to catch falling colloidal particles.
When the usage of sharp equipment like putty knives or razor blades, continually paint slowly and carefully to avoid damage. Be conscious of your environment to prevent accidental damage to the wall or nearby furnishings. Taking those precautions will ensure an easy and safe adhesive elimination technique.
Loosening the Adhesive with Heat
To begin loosening the adhesive with heat, use a hairdryer or heat gun. Start by holding the device a few inches away from the colloidal and applying heat in a slow, circular motion. This softens the adhesive, making it easier to remove. Be cautious to avoid overheating, which can damage the wall or paint beneath. Keep the temperature at a moderate level and check frequently. Once the colloidal feels soft to the touch, carefully use a putty knife or scraper to lift it off without harming the partition surface.
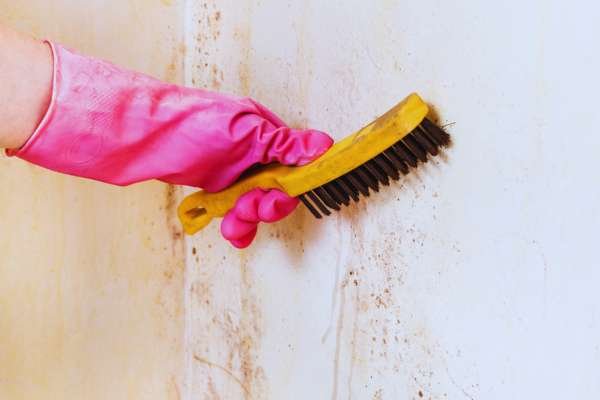
Using a Putty Knife or Razor Blade to Remove Adhesive
Using a putty knife or razor blade is a careful process when removing mirror adhesive from the wall. Begin by holding the tool at a 45-degree angle to the partition. Gently insert it beneath the colloidal, applying light pressure to lift it off. Work slowly to avoid gouging or scratching the wall.
If the adhesive is stubborn, heat it with a hairdryer before scraping. For extra caution, use a plastic putty knife on delicate surfaces. Always scrape in small sections to maintain control and prevent damage to the underlying paint or drywall.
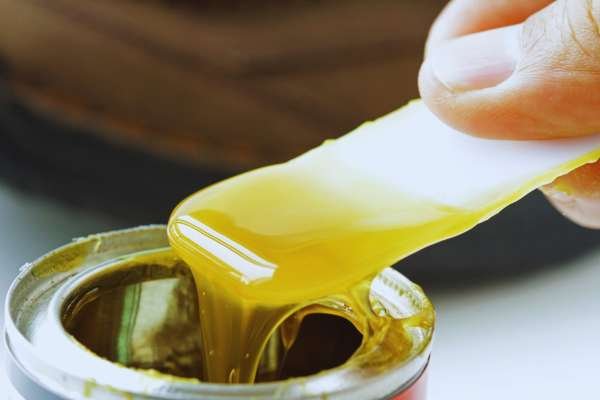
Applying Adhesive Remover for Stubborn Residue
When dealing with stubborn adhesives, using the right colloidal remover is essential. There are different types available, including citrus-based, solvent-based, and natural colloidal removers. Citrus-based removers are gentle and safe for most surfaces, while solvent-based options are more powerful but should be used with caution.
To apply, follow these steps: First, test the remover on a small, hidden area. Then, spray or apply it onto the colloidal, allowing it to sit for a few minutes. Gently wipe away the softened adhesive using a cloth, repeating if necessary for complete removal.
Cleaning the Wall Surface
After getting rid of the majority of the mirror adhesive, it’s important to ease the wall floor to put together it for painting or refinishing. Start with the use of a moderate detergent combined with heated water or a wall-safe cleanser to softly scrub away any final colloidal residue. A soft fabric or sponge is right for preventing scratches.
Make certain to wipe the vicinity very well and allow it to dry completely. Proper cleaning guarantees the partition is clean and unfastened from any debris, creating a wonderful basis for paint or other finishes.
Inspecting for Wall Damage and Repairing as Necessary
After removing the mirror adhesive, look into the wall for any damage, including dents, holes, or scratches. These imperfections can regularly arise through the colloidal elimination method. Use your palms or a flashlight to feel for choppy spots. For small holes or dents, apply a lightweight packing compound with the use of a putty knife, smoothing it out lightly.
Once the compound dries, lightly sand the location to blend it with the encircling partition. For larger harm, recollect the usage of a wall patch. Finish by priming the region to prepare it for painting or refinishing.
Preparing the Wall for Repainting or Reinstalling a Mirror
Before repainting or reinstalling a mirror, it’s important to prepare the wall properly after removing the adhesive. Start by smoothing the surface with fine sandpaper to remove any leftover residue. Apply a primer to create an even base for painting or for securing a new mirror.
For those repainting, choose a color that complements your space and enhances natural light. If you’re redecorating with a new mirror, ensure you use the right adhesive to avoid future damage. For more tips on selecting the perfect wall mirror, explore our detailed guide.
Conclusion
Removing adhesive from your wall doesn’t have to be a daunting task. By following the right steps, you can easily learn how to remove mirror adhesive from the partition without causing damage. From using heat to soften the colloidal to carefully scraping it off and applying the proper adhesive remover, the process is straightforward with the right tools. Once the wall is clean, you can repair, repaint, or install a new mirror as needed. With patience and attention to detail, your wall will look as good as new in no time.